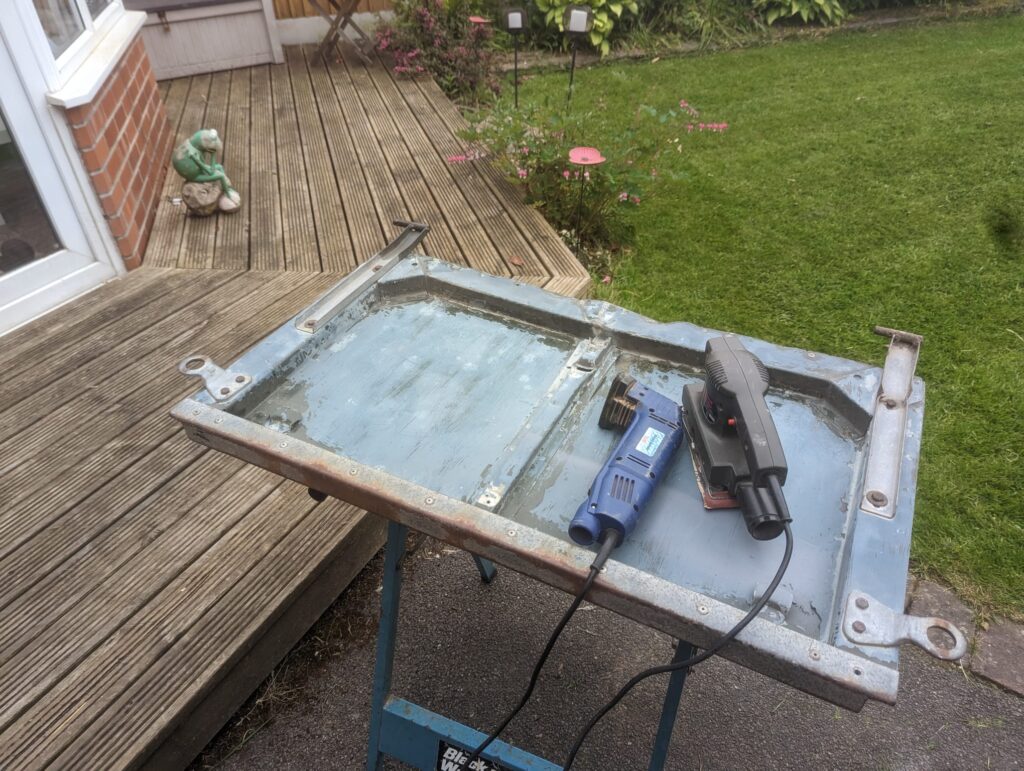
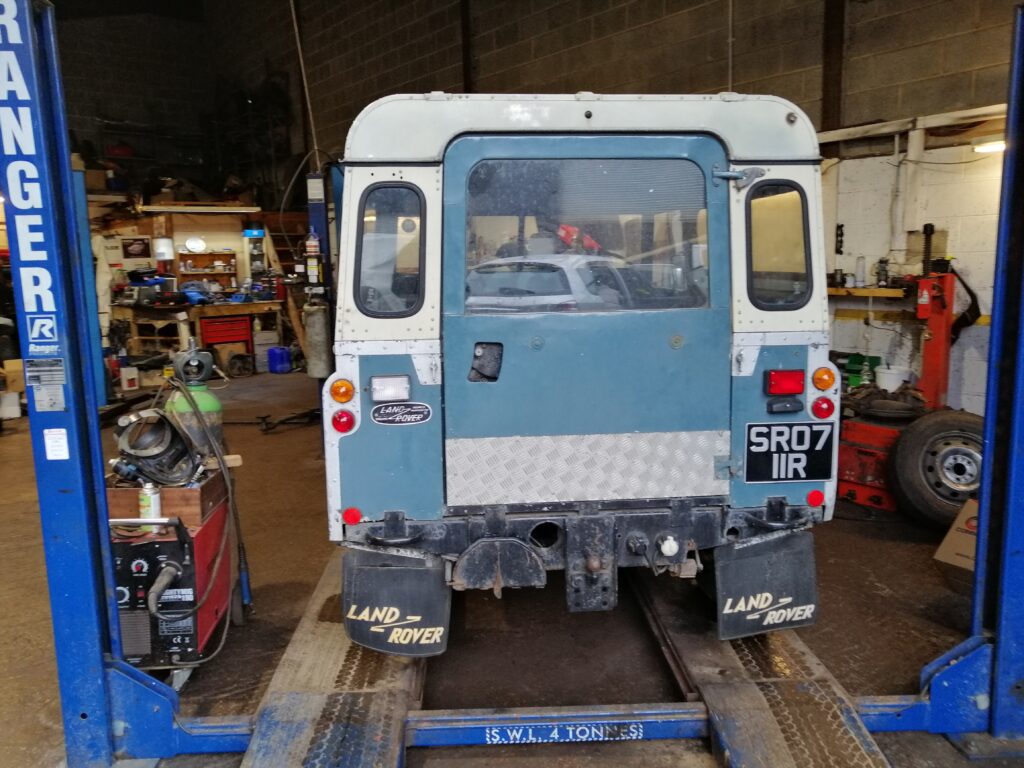
The dream of driving around topless (The car, not me) is still alive, and here is some recent work on a tailgate saved from the scrap heap.
It still carries the ubiquitous dent from years of dropping on the tow ball… why would you fix that??
Samuel Foxon
The dream of driving around topless (The car, not me) is still alive, and here is some recent work on a tailgate saved from the scrap heap.
It still carries the ubiquitous dent from years of dropping on the tow ball… why would you fix that??
The decision has been made to pause the works for the time being…
Electrics and flooring are the only things to go… watch this space.
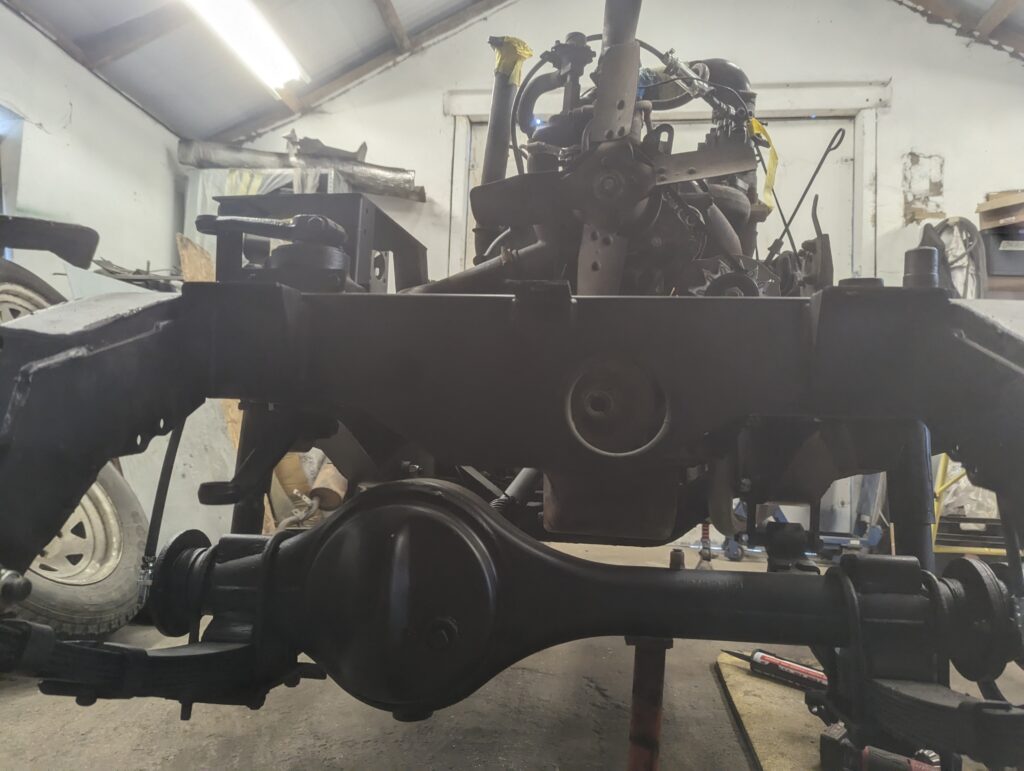
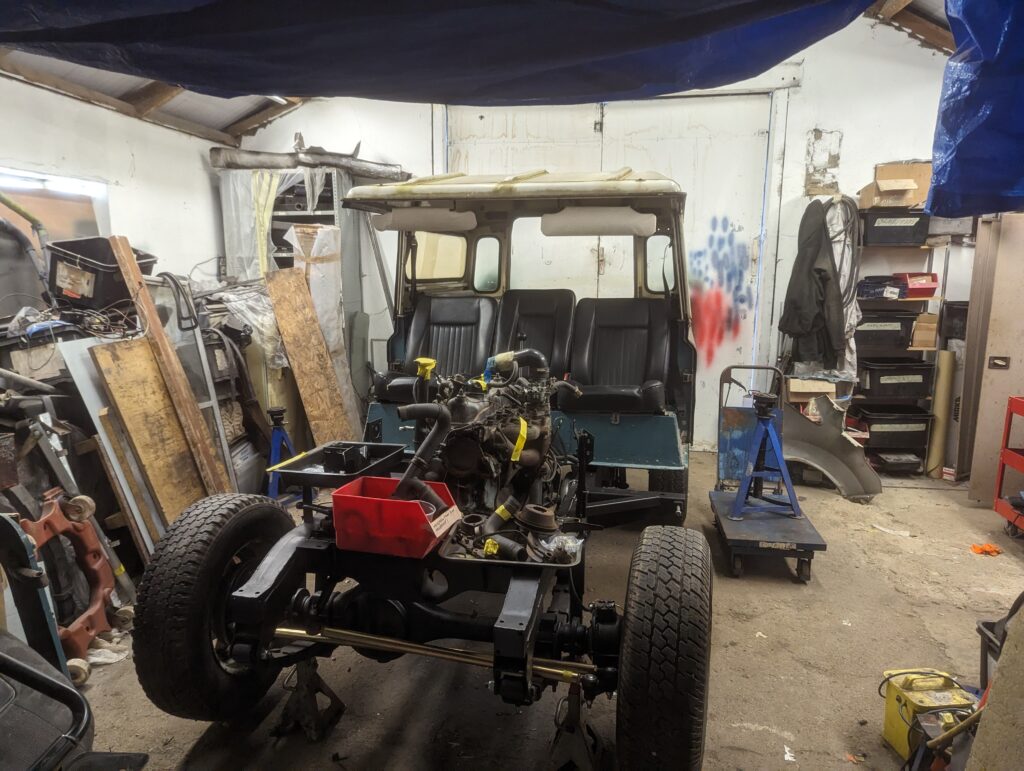
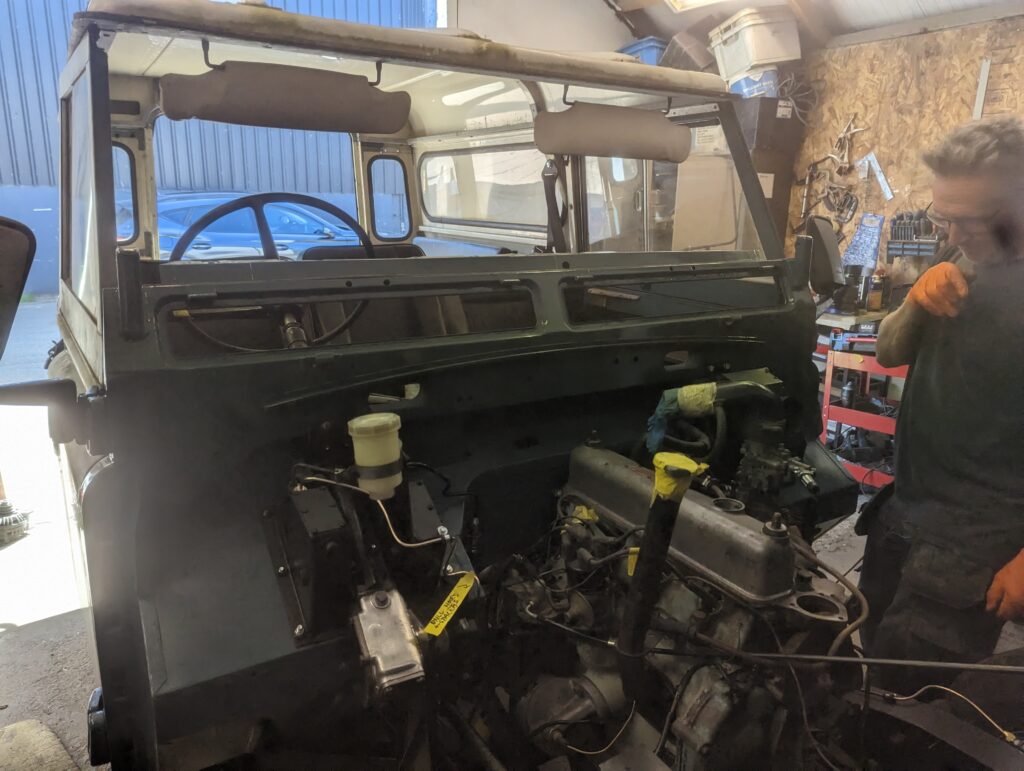
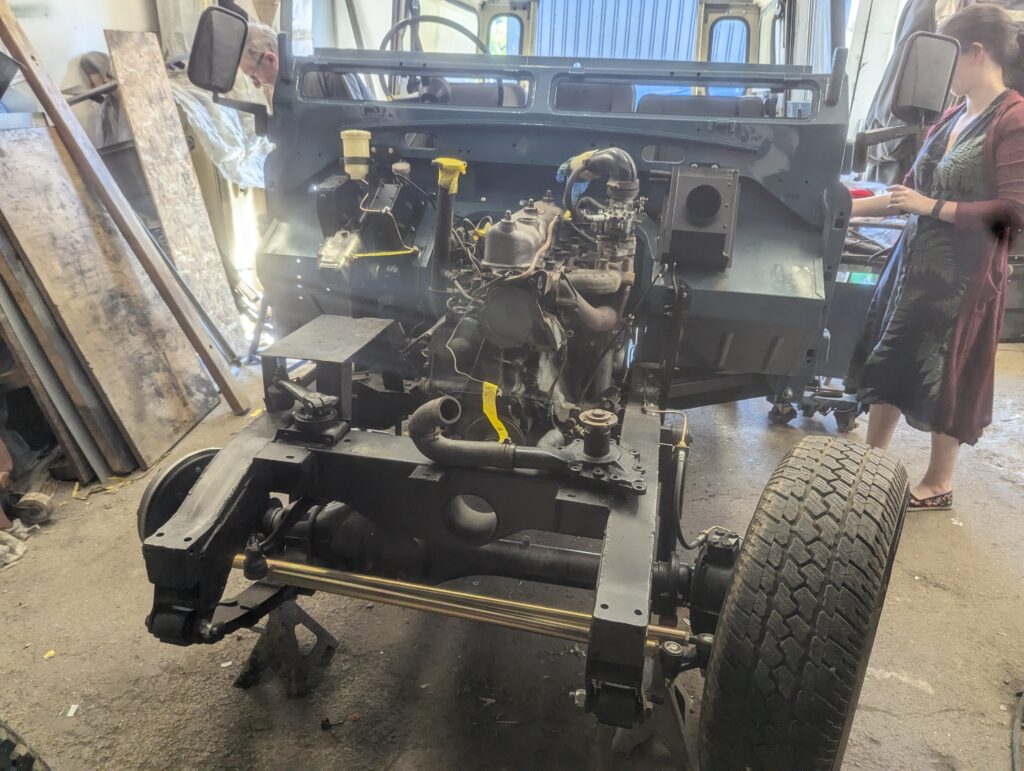
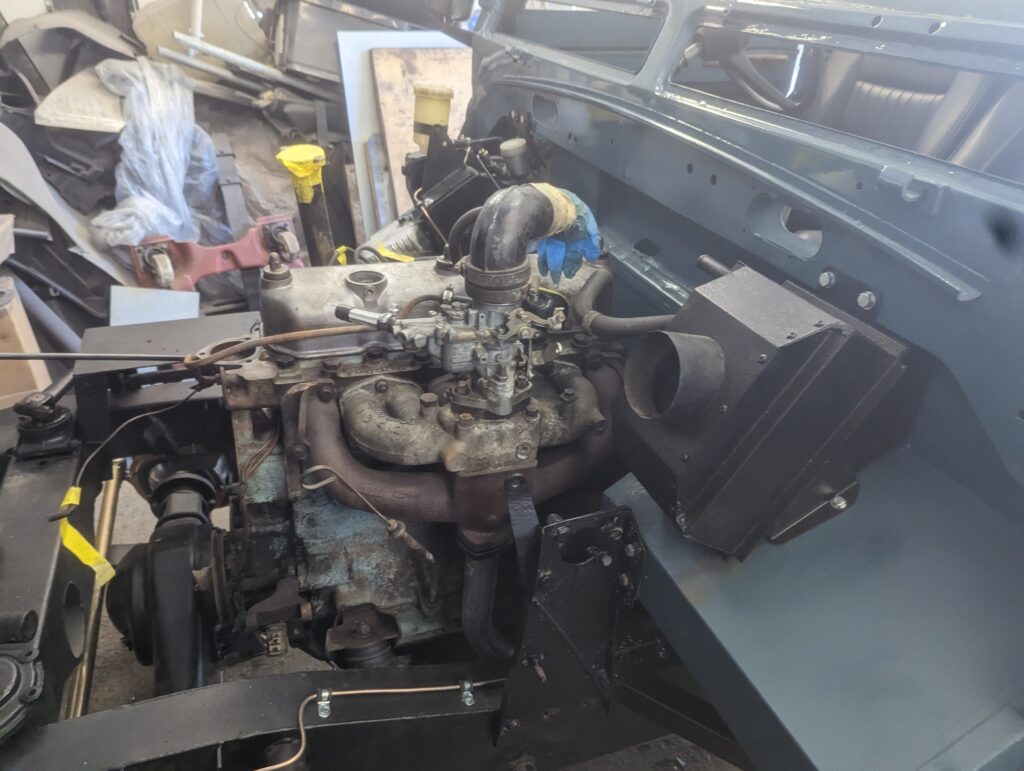
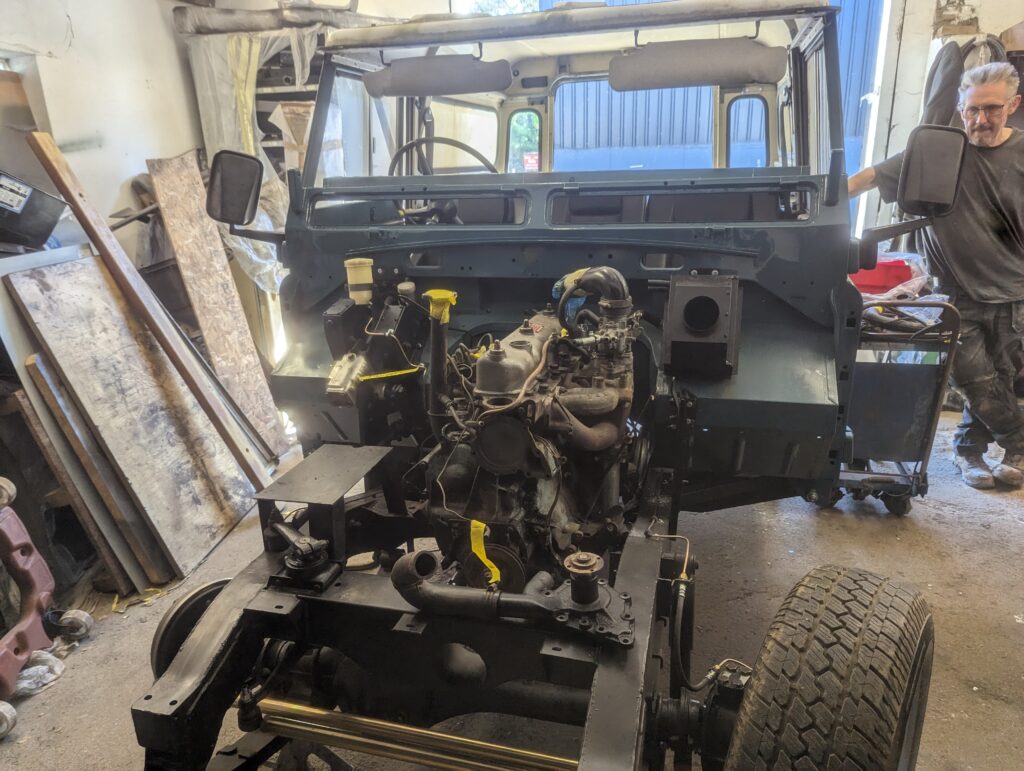
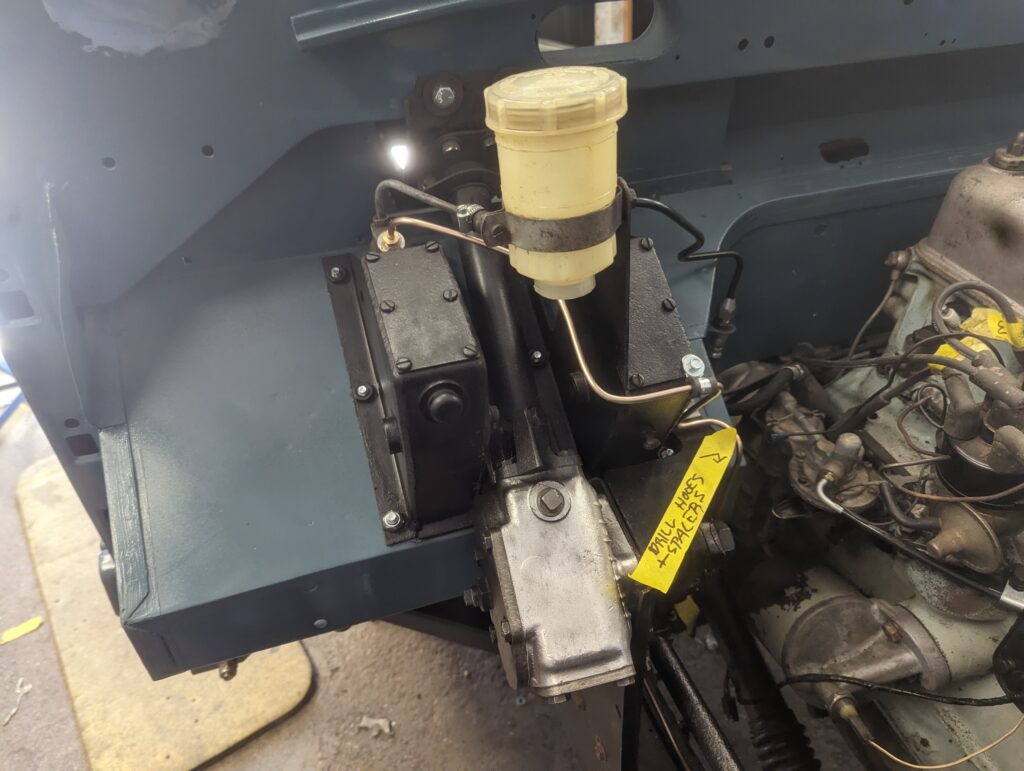
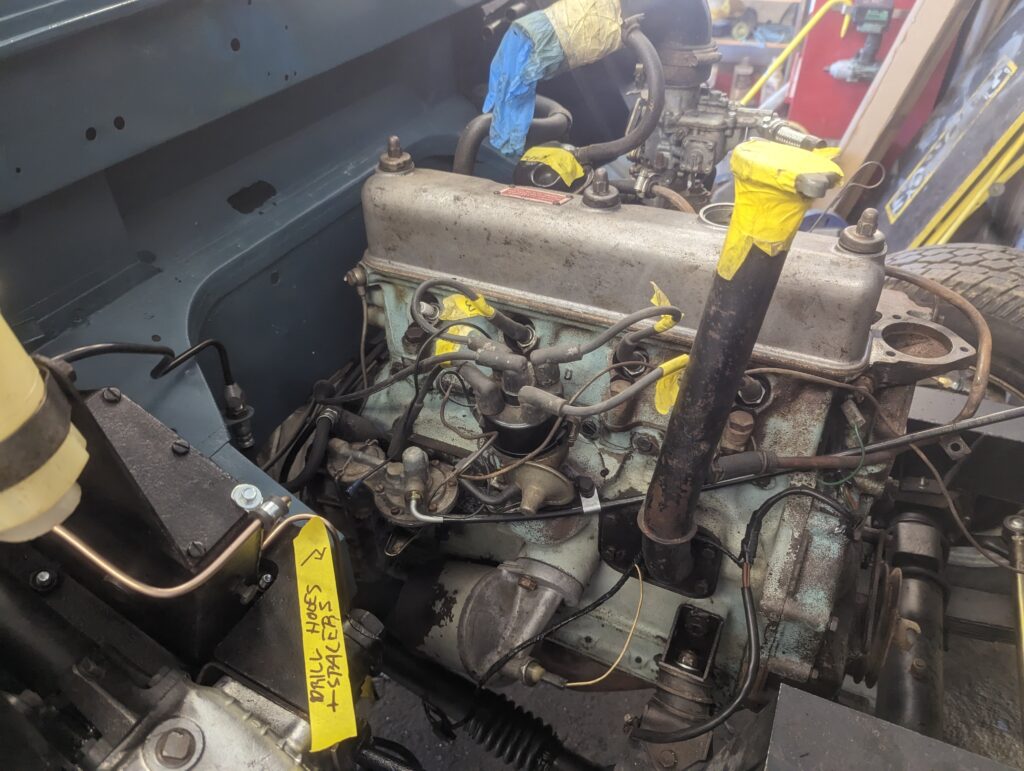
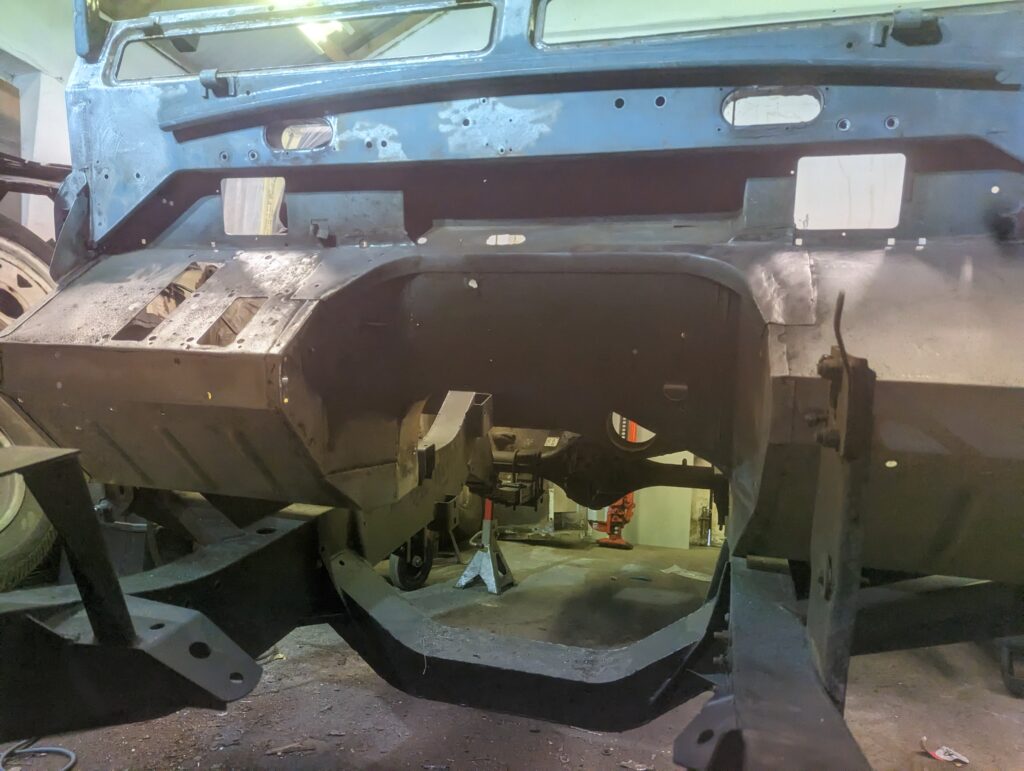
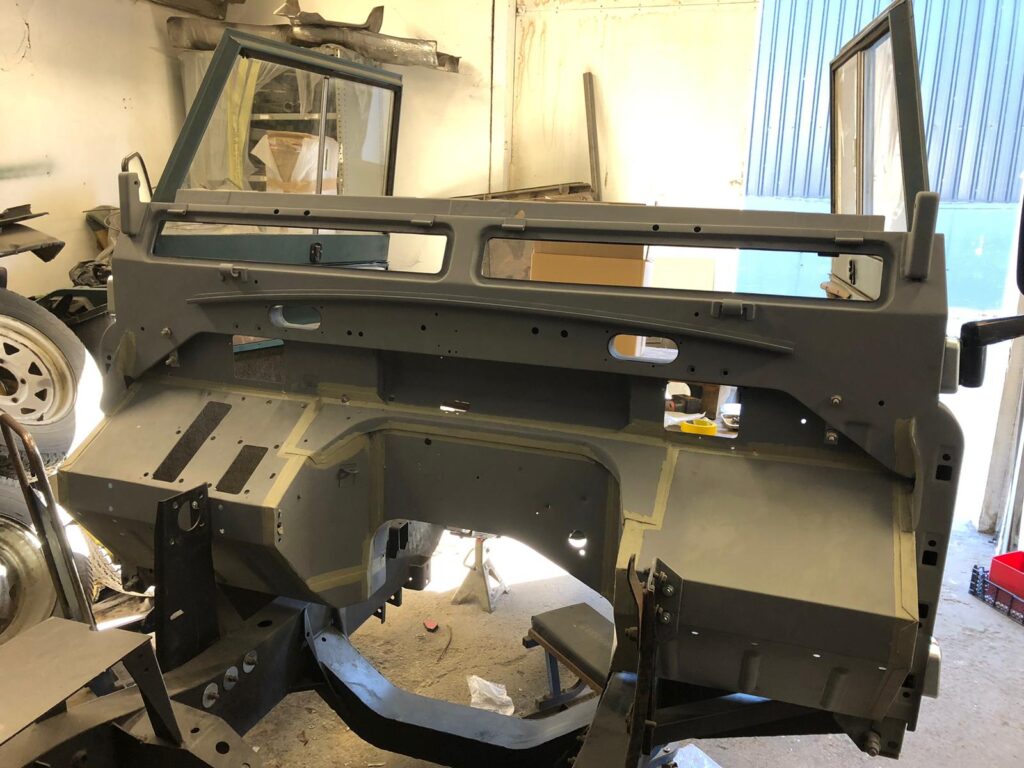
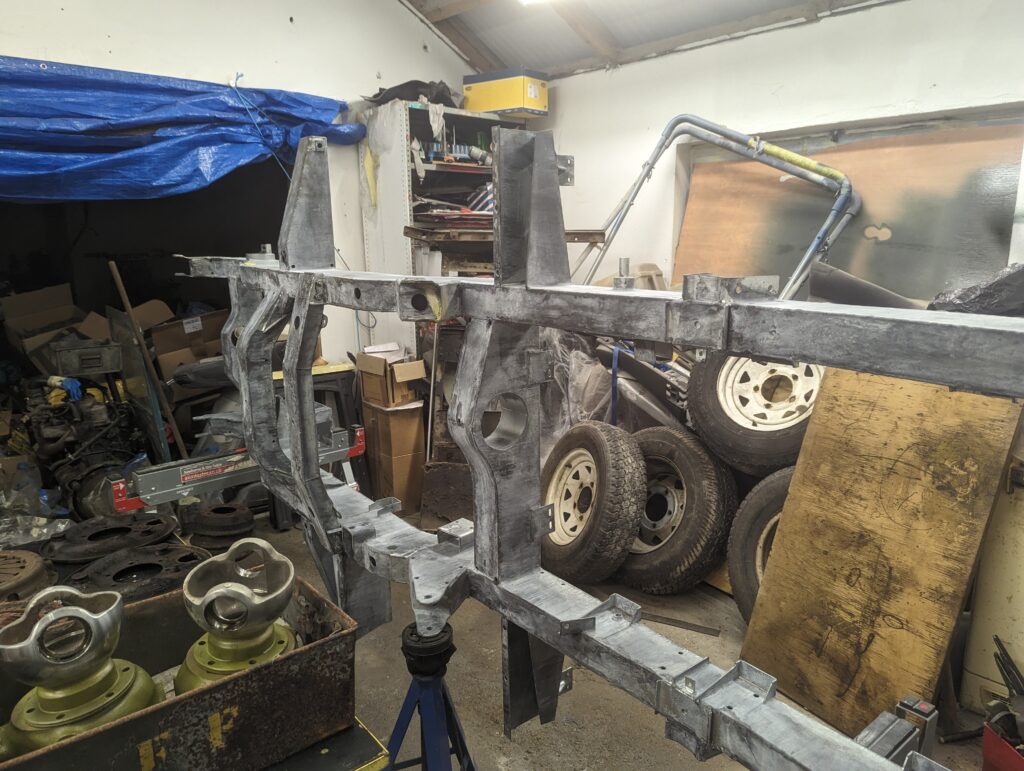
The chassis hasn’t been left alone and is now accumulating car bits…
Getting married next month so feeling the pinch – time as well as wallet.


This is a money pit.
Perhaps a new one would have only come in slightly more expensive.
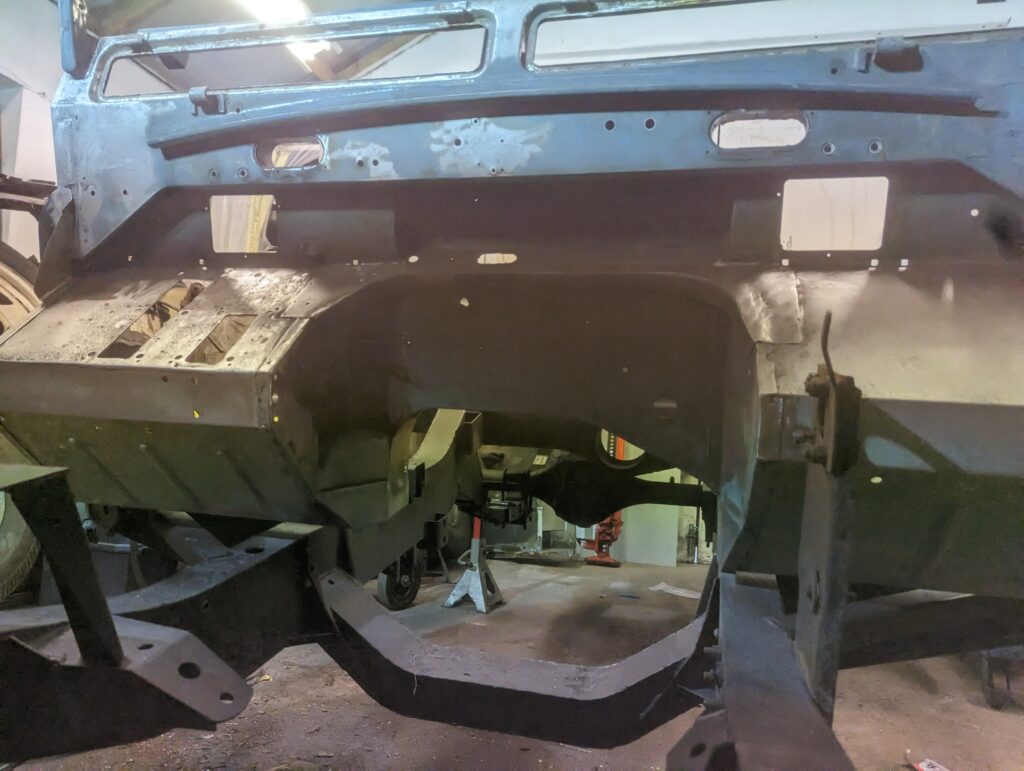
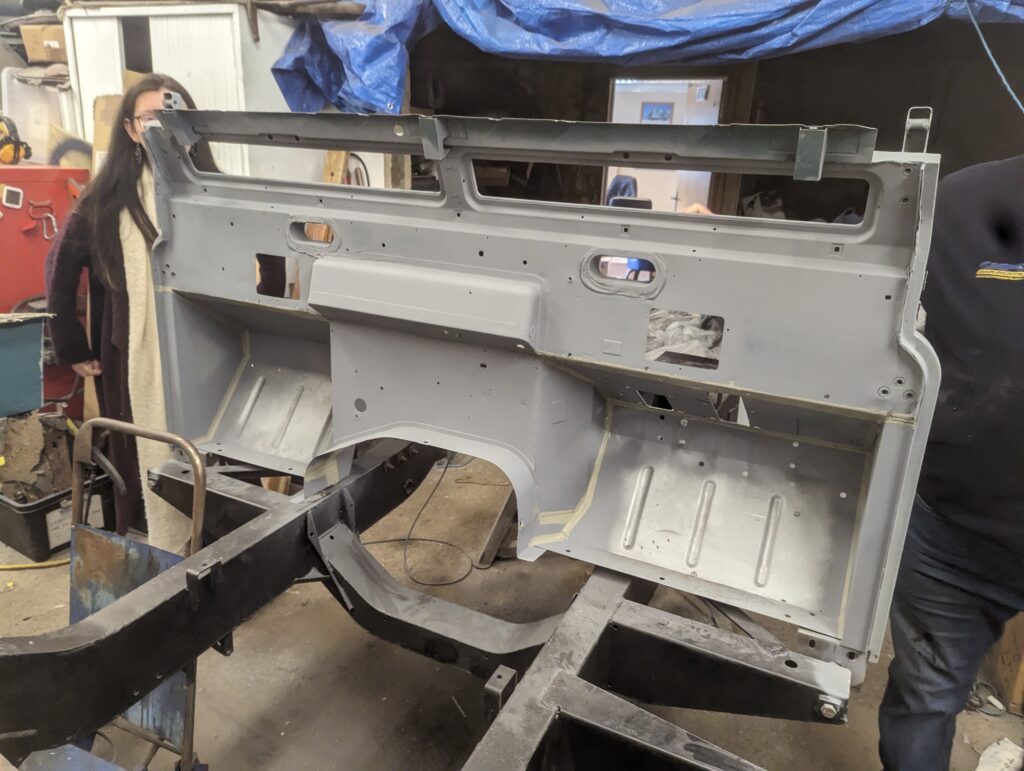
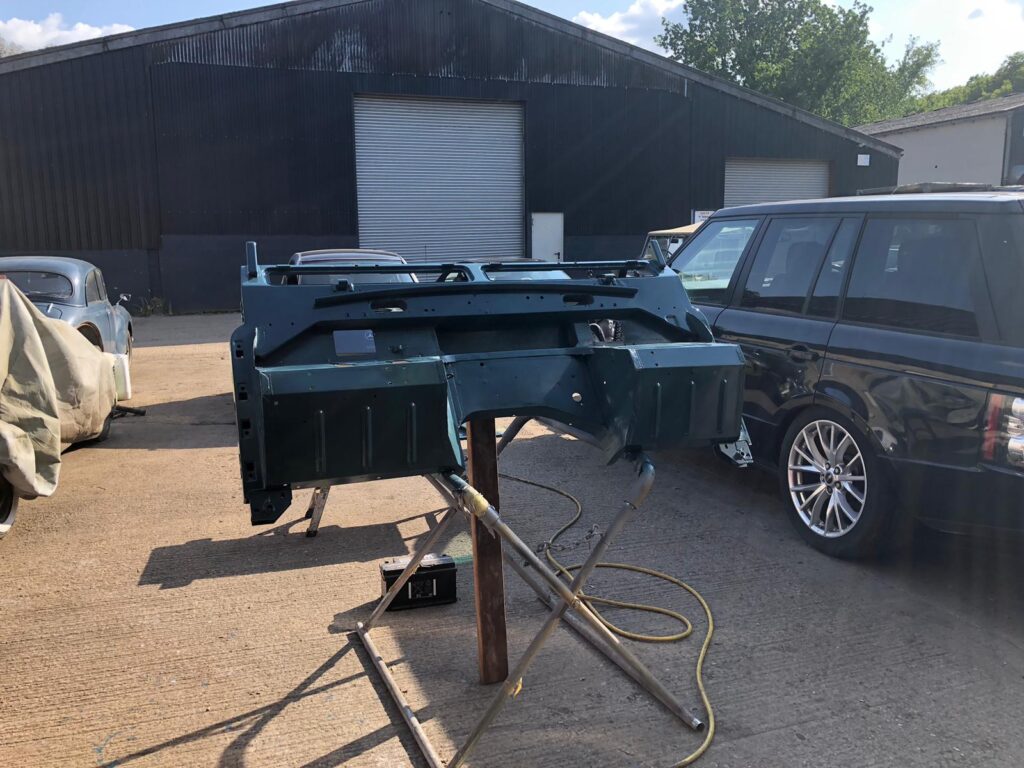
After a lot of welding and filling (The footwells are almost entirely hand made and new), it was ready for the undercoat and seam sealing. The chassis is the best jig their is, as it will 100% be able to fit.
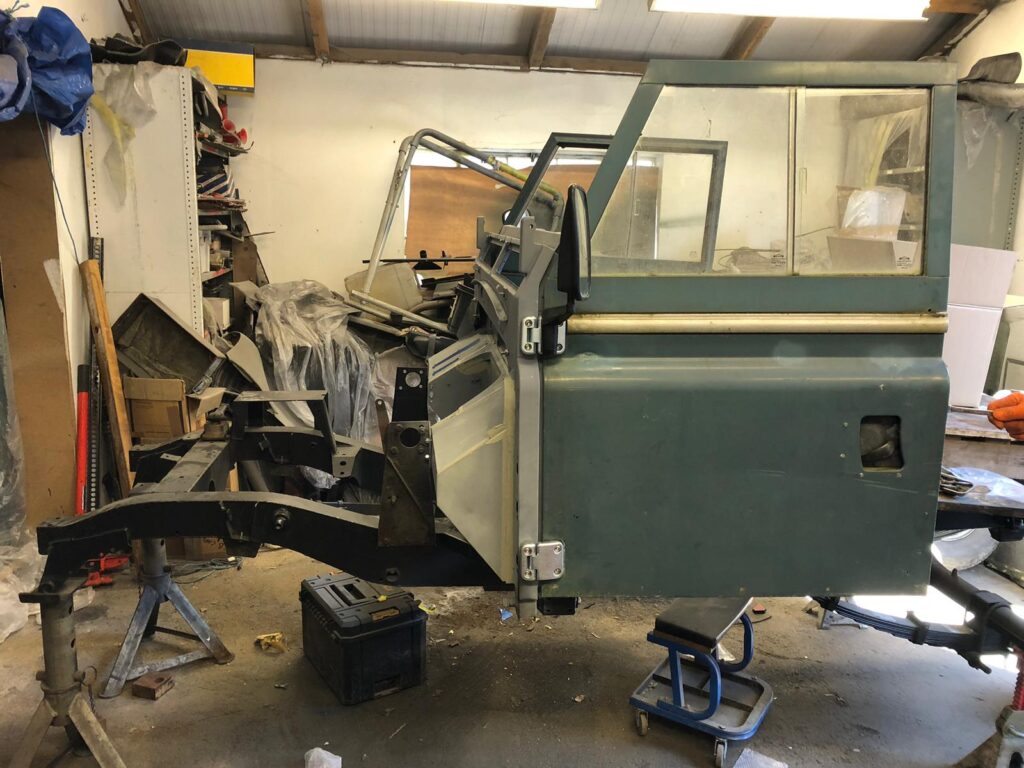
The doors were tested to see if everything was true…. it is starting to look like a car!
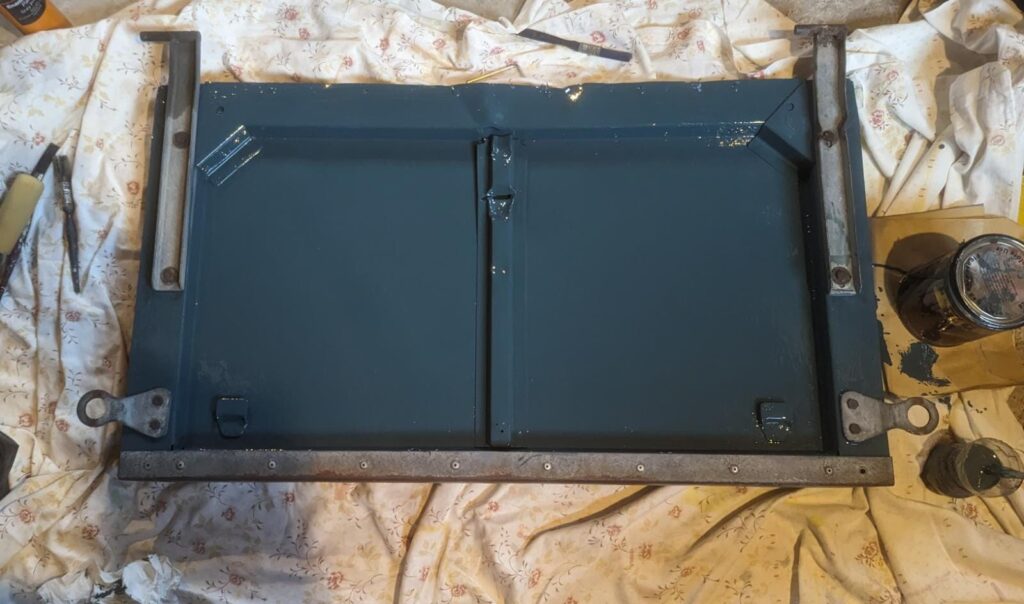
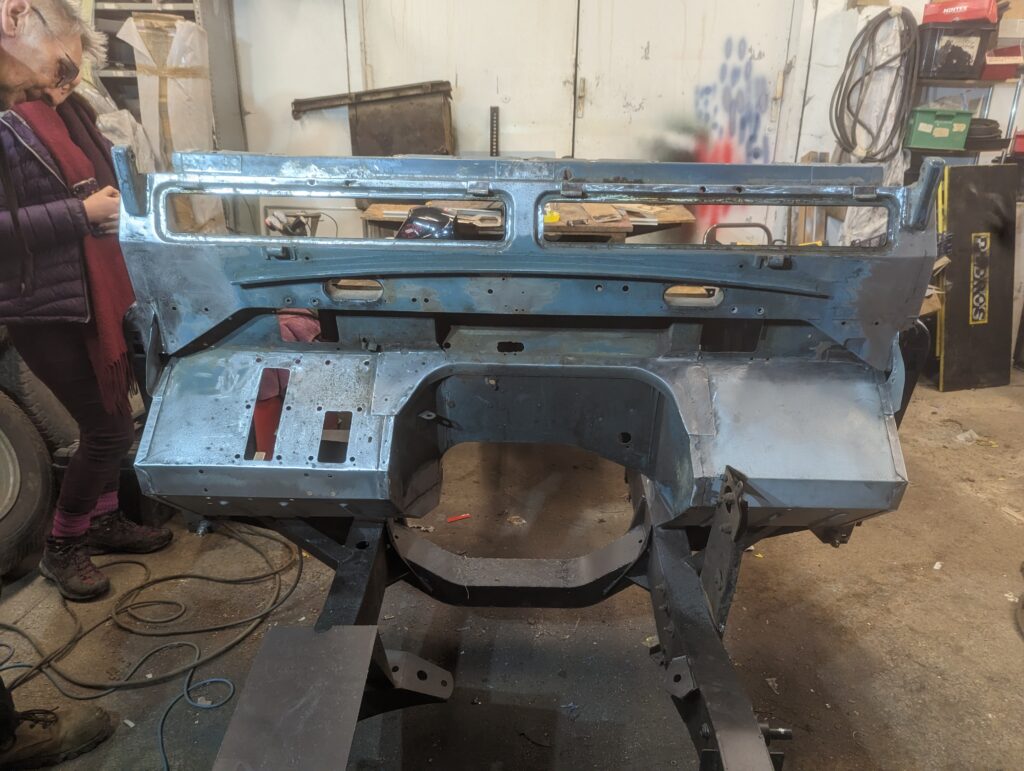
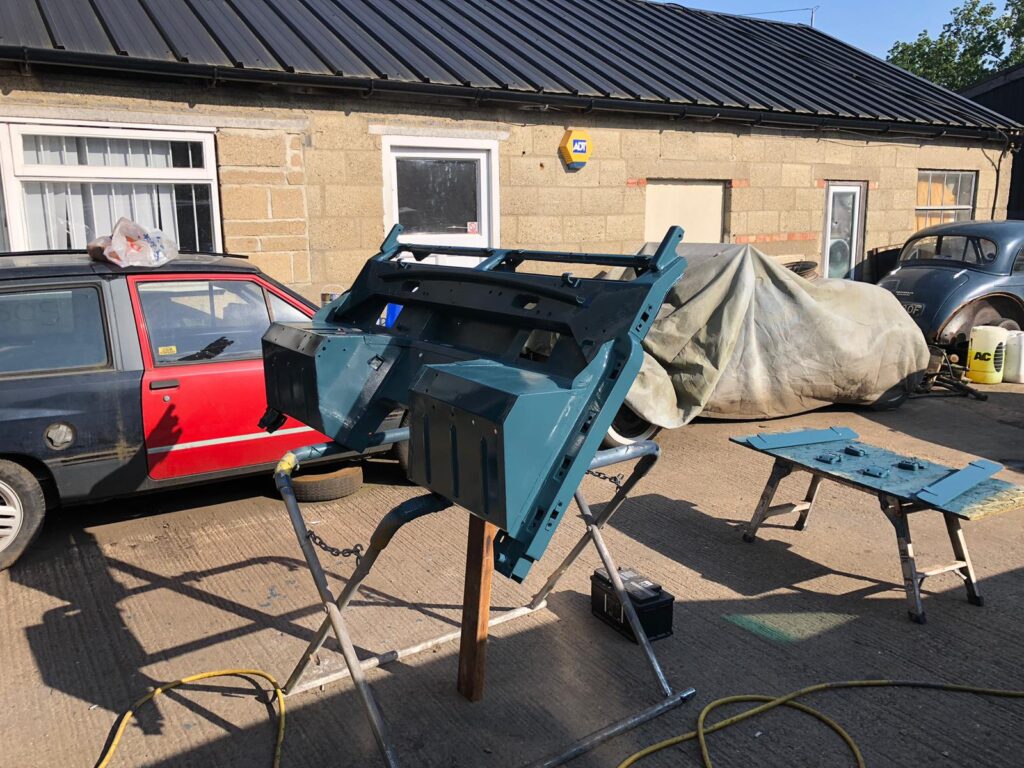
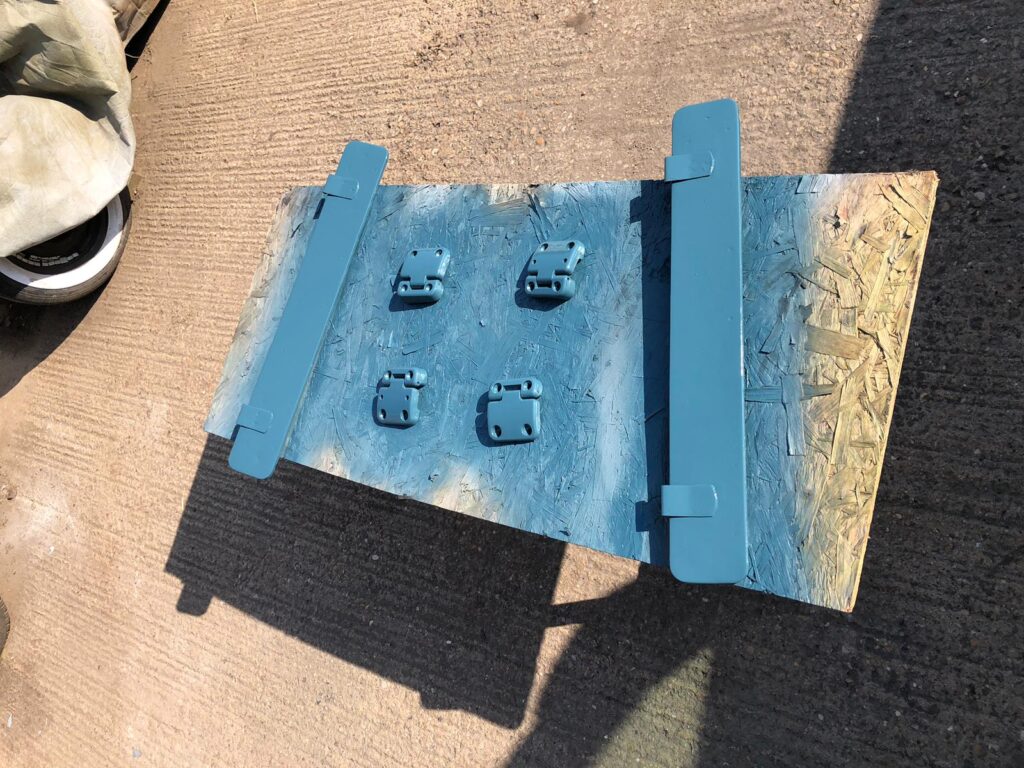
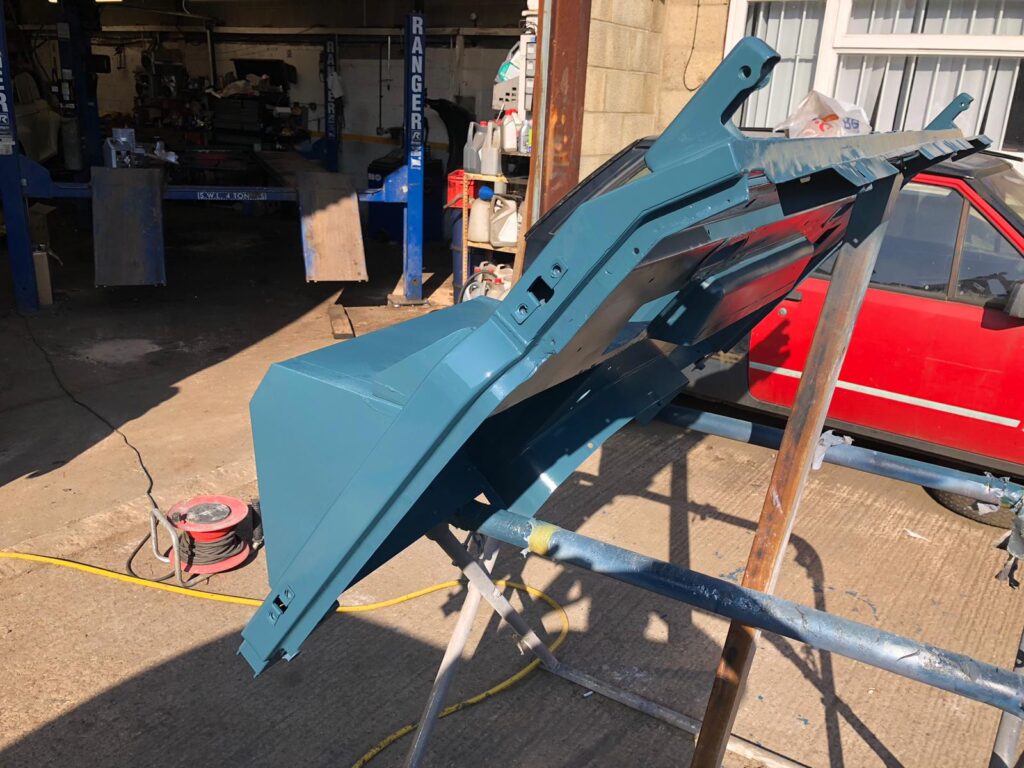
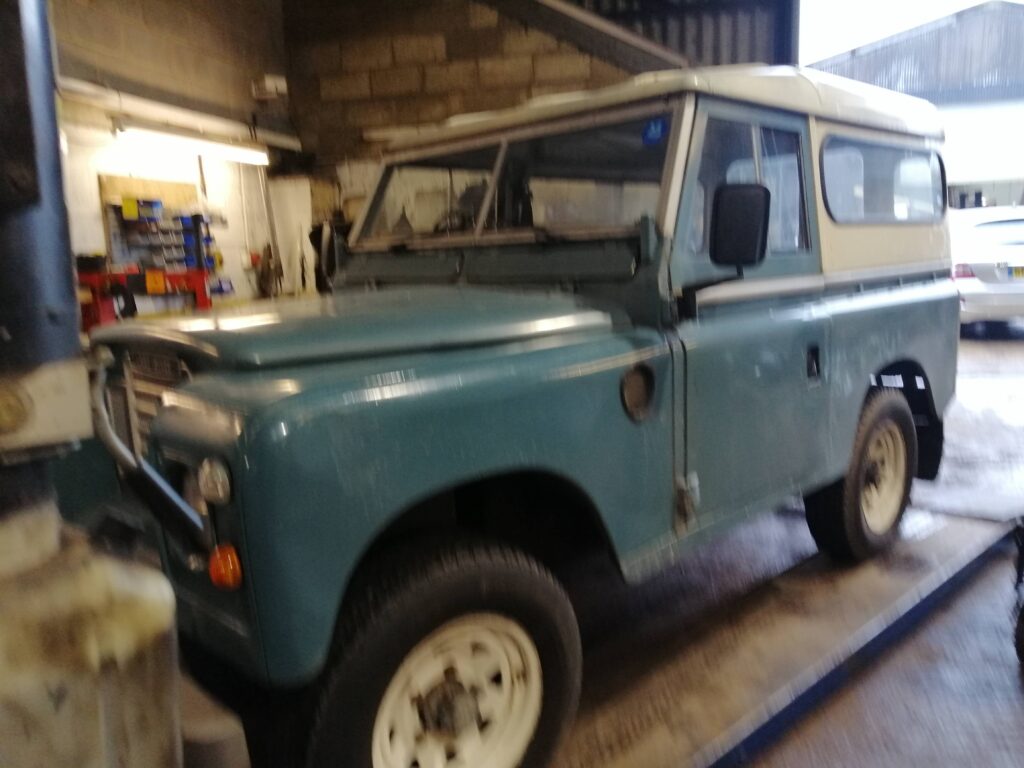
Which meant the next job was to get the marine blue paint out…
After the initial shock of seeing my Land Rover stripped down to its bare essentials, I knew the real work was about to begin. The new chassis had arrived, a shiny, pristine frame that marked the first major step in my restoration journey. However, before any paint could be applied, the gleaming surface needed to be etched, ensuring a strong, lasting bond for the new coat.
Etching the chassis might seem like a minor detail, but it’s a crucial step in the restoration process. The purpose of etching is to create a slightly rough surface on the metal, allowing the paint to adhere properly and providing durability against the elements. Skipping this step or doing it poorly could mean paint that chips and peels, undoing all the hard work in no time.
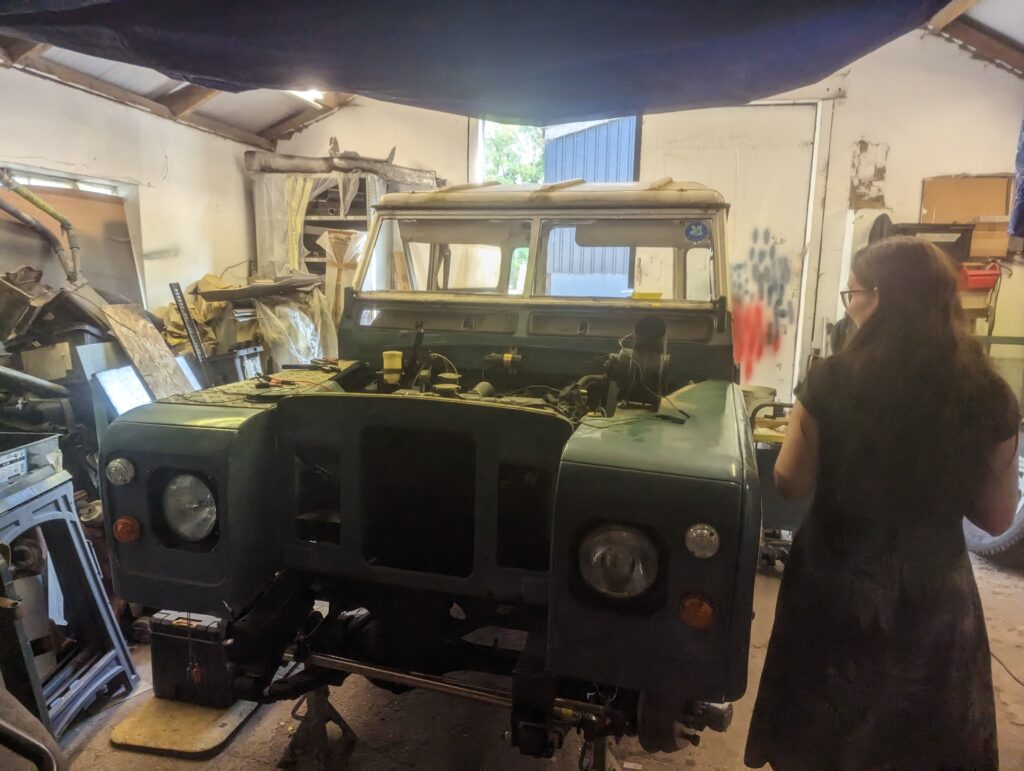
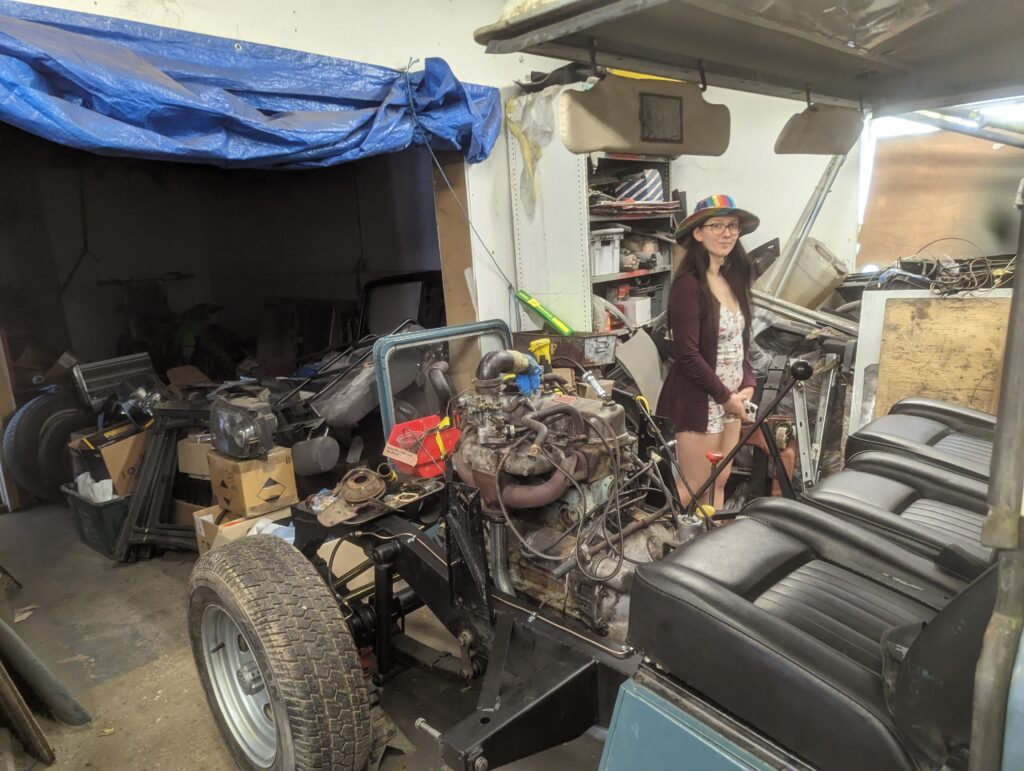
Besides the chassis was my car, reduced to nuts and bolts in bags to the side…
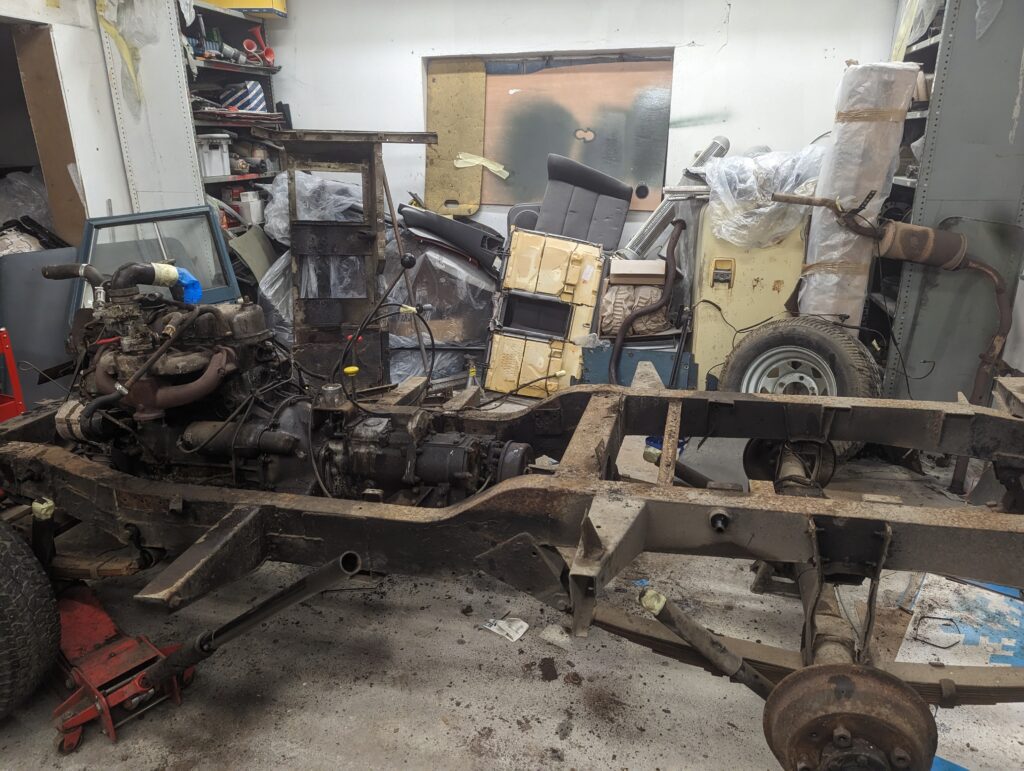
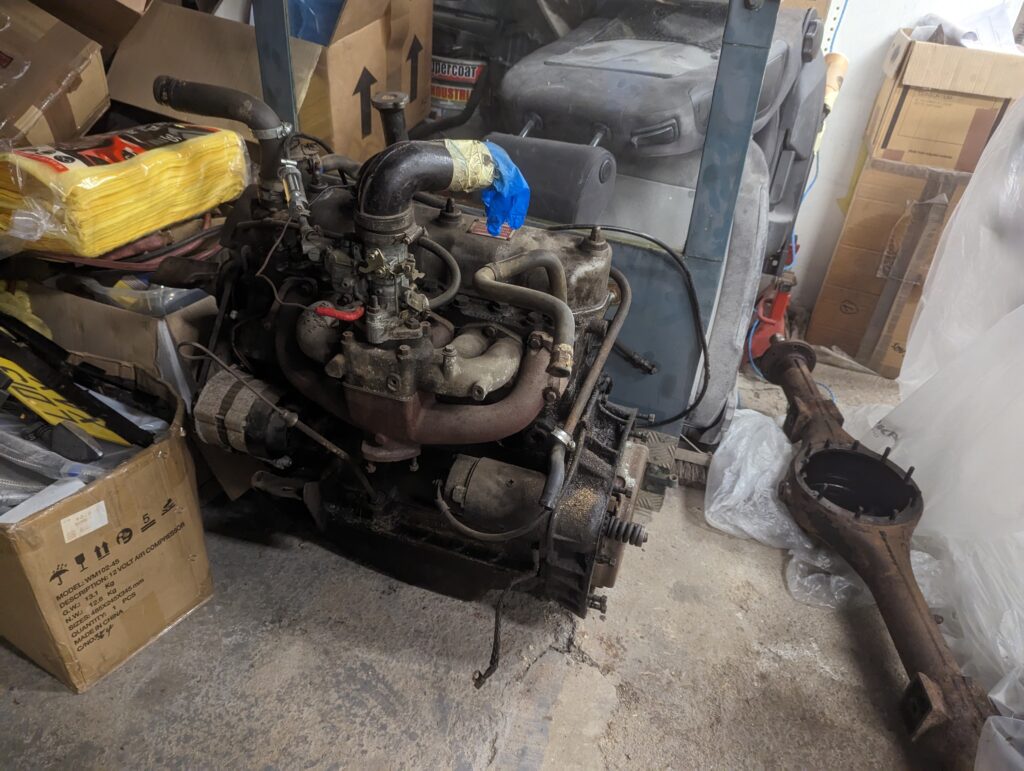
There it was—my Land Rover, my pride and joy, stripped down to its bare bones. I had anticipated this moment, but nothing could prepare me for the sight of my beloved vehicle reduced to just the chassis, axle, and engine. It was a mix of excitement and trepidation that coursed through me as I stood there, taking in the gravity of the work ahead.
The road ahead was daunting. Restoring this Land Rover to its former glory would require countless hours, meticulous attention to detail, and a fair share of frustrations. But it was a challenge I was eager to embrace. This wasn’t just about fixing a vehicle; it was about preserving a legacy, reviving a trusted friend, and crafting a story of revival and perseverance.


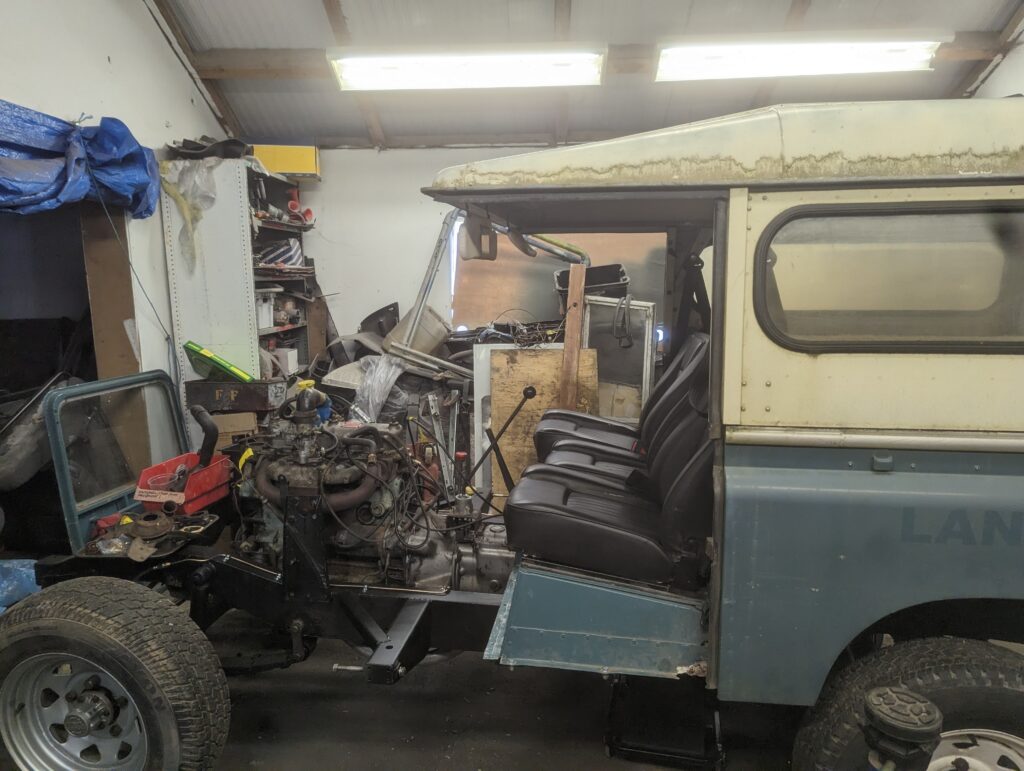
And here she is looking like a bin:

A very sad state to see my pride and joy in – sitting expectantly, awaiting for her new chassis.
The warped nature of the chassis is starting to be visible, which in some ways is good – as it mean she definitely needs the new one! Some botched repairs (paper Mache!) has become evident as well.
After skidding with my mum int he passenger seat, I decided it was time to take it to a garage.
Turned out to be a very expensive trip…


My Land Rover came with these unsightly decals, just in case you didn’t know what you were looking at…
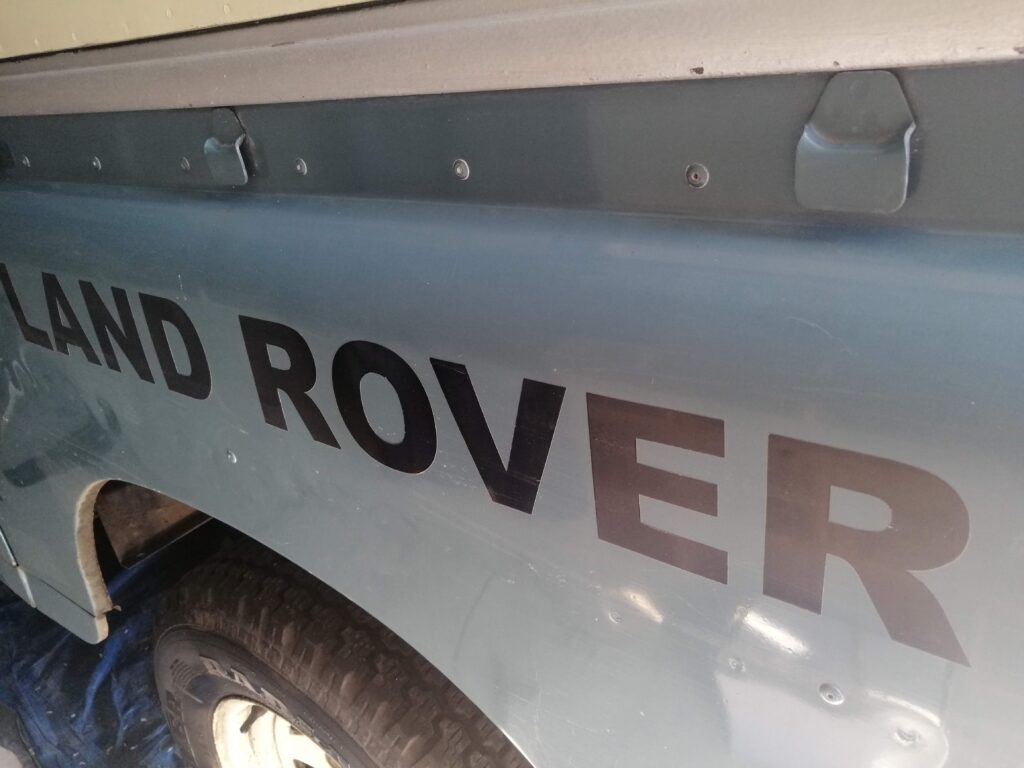
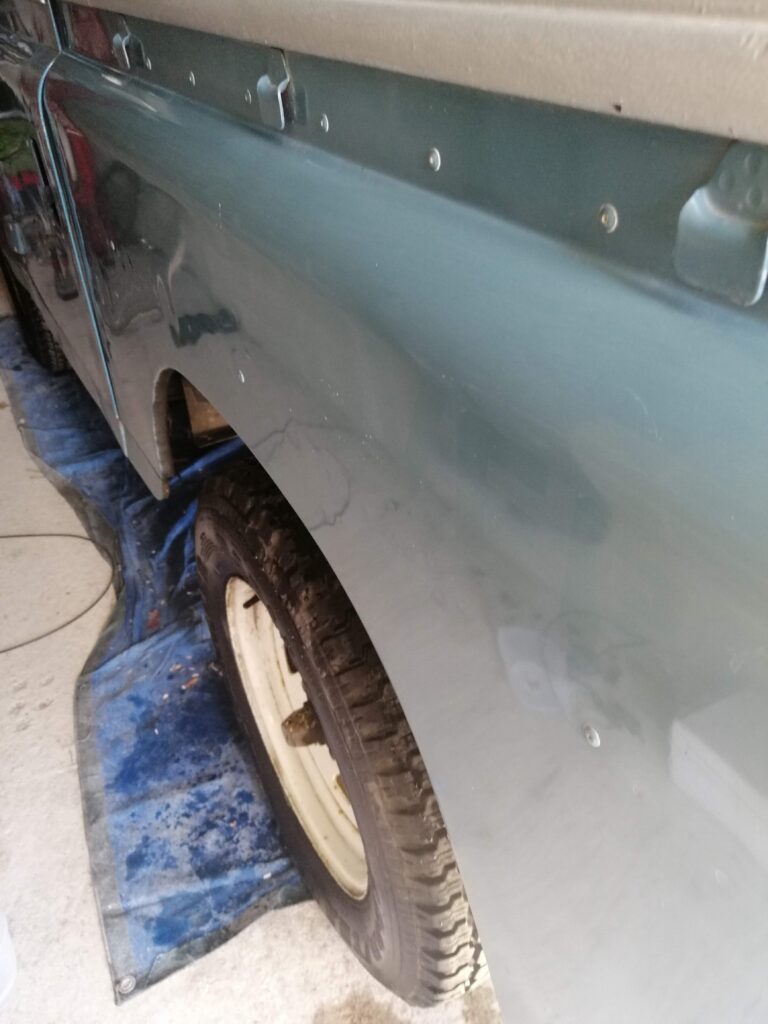
A spot of hot water to soften the glue, a credit card and some white spirit did the trick, although now I have fade marks to contend with – even after a spot of T-cut.
A short journey through Didcot resulted in a very noisy issue and loss of power.
Unfortunately, too dark and too busy to investigate – so onto the tow truck it goes.
The following day, it transpired that the rear prop shaft bolts had sheared off!
